Determine an environment
Live
If this is your first website, you probably want to go with a live server environment only. With a live server environment, web browser offerings from BluePrint-Q, WordPress, and your hosting company are typically enough to get up and going.
Local
However, if you are constructing a site or an app that is more elaborate, you will want to set up a local environment. This process will generally be more involved than if you were only dealing with a live environment. To get started, download and install WAMP. WAMP stands for: Windows Apache MySQL PHP. It’s a software bundle that sets up those technologies on your local machine. If you have a Mac, you would want MAMP and Linux users would want LAMP.
Preparing a database
You will need a way to create, alter, and view your database. For most users, phpMyAdmin does the trick – it’s a browser-based application and has been getting more and more user-friendly over the years. It’s expected that your hosting company has phpMyAdmin installed already. If not, ditch them. Seriously.
If you are very familiar with databases and would consider yourself at least at the intermediate level, you might want to go with something like MySQL Workbench. It’s a locally-installed application that can work with local or live databases – the location of the database really does not matter.
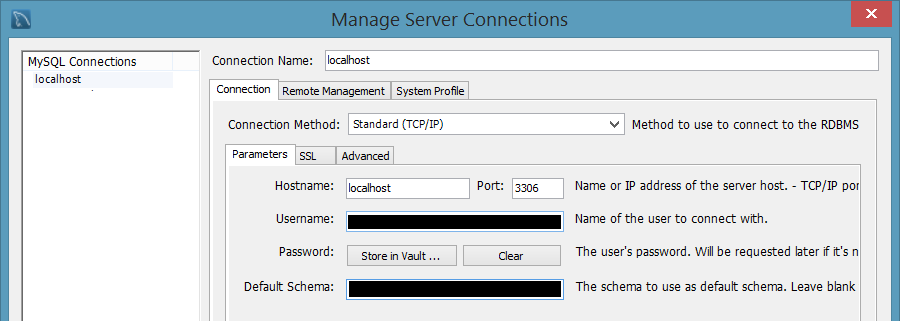
Now fill in the connection information. The username is something near and dear that only you should know. Add a password also to help things be even more secure. The default schema is optional. Here, we are not yet creating the schema, but we are just telling Workbench which schema to make active on startup. If you choose to fill this in, do so with the name that you intend to give the database.
Make certain that you have opened your connection. You should now see a new toolbar – click the icon that creates a new schema (a.k.a. database).
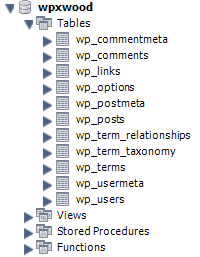
Then name the database. In this case, we are making a database called ‘wpxwood’. But you can call it whatever makes sense to you.
Installing WordPress
First things first – download WordPress. Unzip and copy the contents into where your site is hosted. Since this example is going through a local installation, it might be something like:
C:\wamp\www\wood
After the copy has completed, navigate your browser to the index.php file. In the example case, it might be something like:
localhost/wood
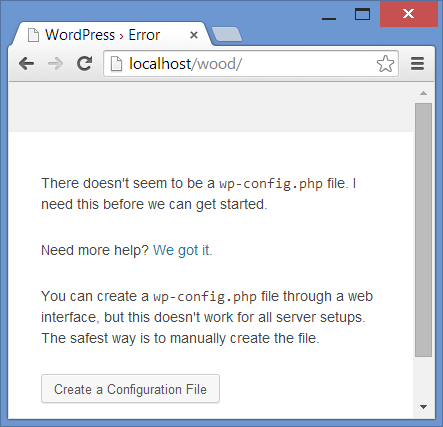
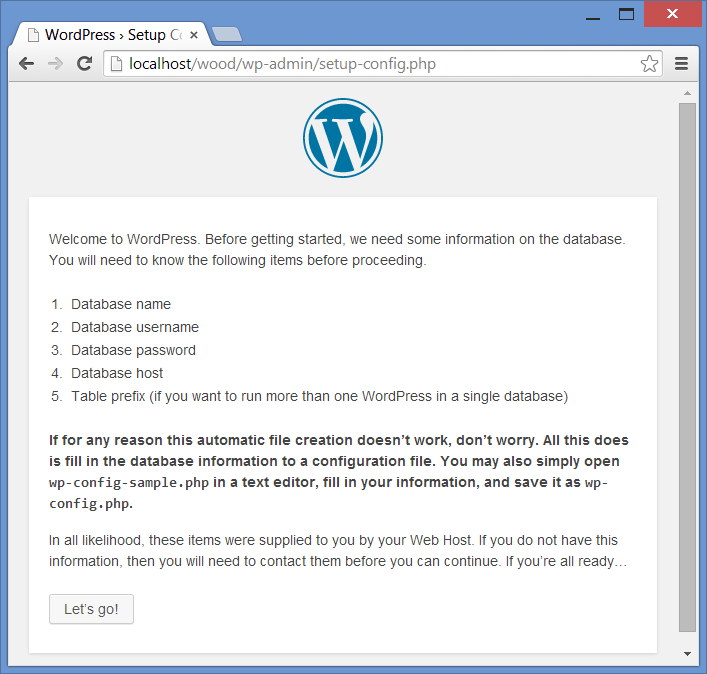
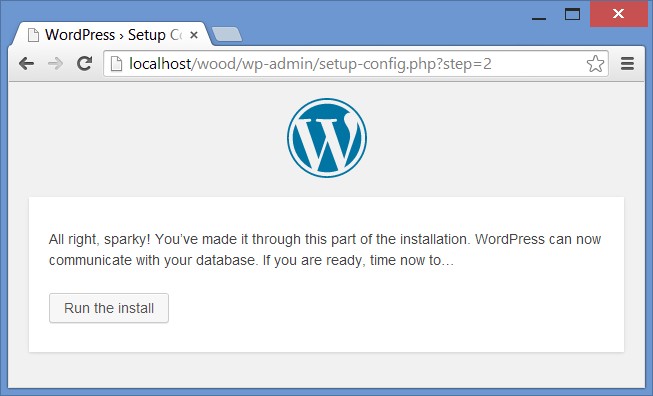
WordPress provides a wizard to set things up. Let’s walk through these screens. Create a config file.
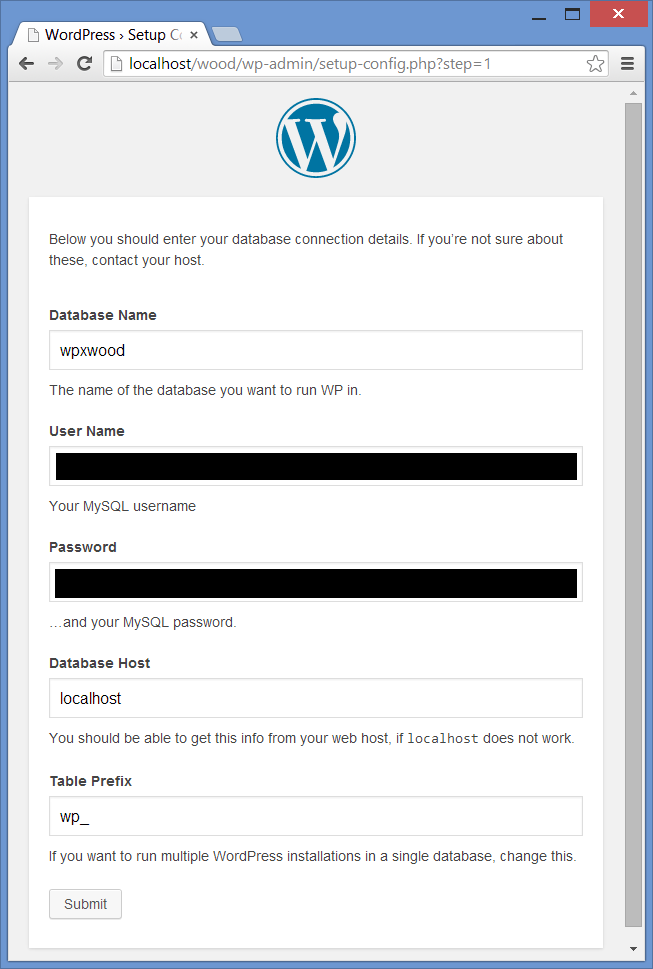
Fill in the connection and database information. Ensure that you use the same values you used when setting up your schema.
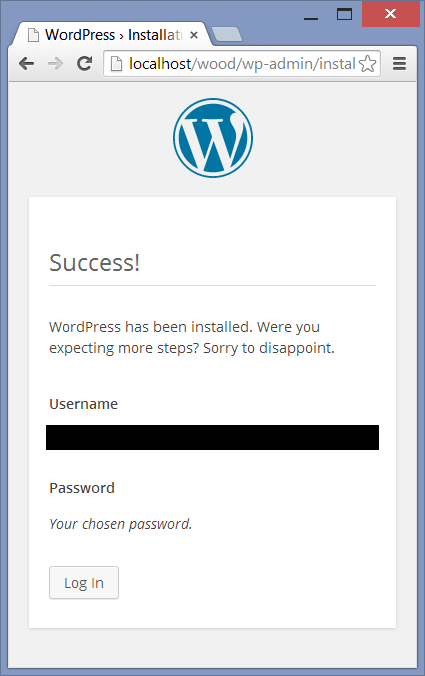
Now you get to populate top-level information about the site. You can change all of this later, but to start – fill it in with everything as you wish now.
Welcome to the Administrator area
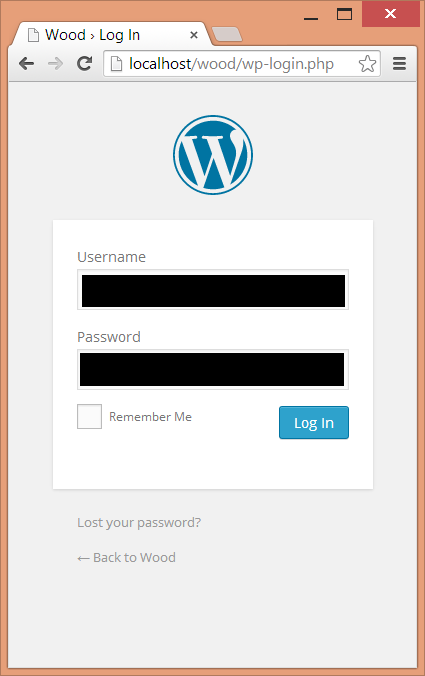
The site that you show your users is called the frontend. The area where you make changes to your site is called the backend or Admin Panel. To get to the backend in WordPress – you can either log in from the previous step or you can go to your browser and navigate to something like:
localhost/wood/wp-admin
Activating the BluePrint-Q theme
WordPress runs on themes. A theme is a collection of code (HTML, PHP, CSS, JS) that helps determine how areas of a site look and behave. BluePrint-Q is a WordPress theme with sophisticated code that does just that – and makes website experiences great.
One particularly interesting WordPress feature is the ability to change themes without affecting content. From the Admin Panel, click on Appearance and you should see a screen that could have several themes listed already – in this case, twentyfourteen and twentythirteen (you might have more or less at this point).
Adding a new theme
Now let’s add a new theme – click on the ‘Add New’ button and you should be brought to a new screen with a catalog of themes. Using the search mechanism, you can find BluePrint-Q, Draft Edition and install following the onscreen prompts.
However, if you have purchased the Premium Edition of BluePrint-Q, you will want to upload the corresponding ZIP file using the ‘Upload Theme’ button instead. For this tutorial – let’s go the route of the Premium Edition.
Then you can either activate the theme here or go back to the Themes page and activate it. The Themes page should now have BluePrint-Q listed.
Make it a child theme instead
It is a best practice to setup a child theme. If you intend to change any code within BluePrint-Q, it really is more of a necessity. Taking a small amount of time now will save you significant effort down the road.
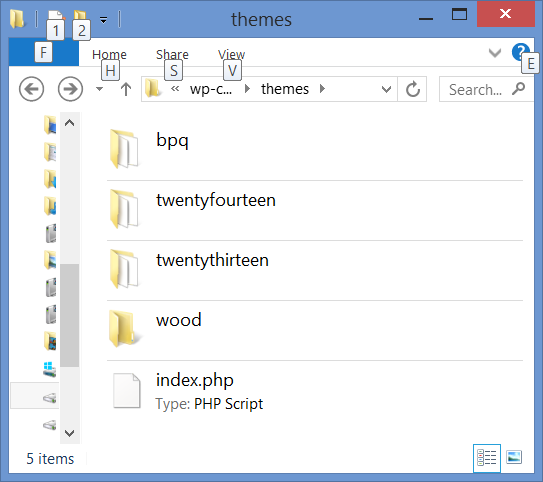
Let’s start by navigating to where the themes are stored. For the example that we have been walking through, it would be something like:
C:\wamp\www\wood\wp-content\themes
Notice that there is a folder per theme that we saw earlier – twentythirteen, twentyfourteen, and bpq (BluePrint-Q). Now, we are going to make a new folder. In the case of this example, we will name it ‘wood’, but you can call it whatever makes sense for your project.
This ‘wood’ (or whatever you called it) folder will be the child theme folder. Navigate inside and create two files. The first is a style.css – paste these contents inside (change as it makes sense for your project):
/*
Theme Name: Wood Child Theme
Theme URI: http://someaddress.com
Author: Dan Suleski
Author URI: http://suleski.name
Description: BluePrint-Q child theme for Wood client
Version: 1.0.0
Template: bpq
*/
The second is a functions.php file – paste these contents inside:
<?php
/**
 * WordPress looks at this file for any additional code to use in this
 * child theme. This is typically where action/filter hook registrations
 * are made, shortcodes are defined, or widgets are created.
 *
 * @author Dan Suleski
 * @package wood
 * @since wood 1.0
*/
?>
If you ever read a WordPress lesson online that talks about adding to your ‘functions.php’, now you know where to go.
At this point, you should have two files filled in your child theme folder. When you navigate back to Appearance >> Themes in your browser, you will notice a new theme has appeared with the name that you gave in the style.css file. It might look something like this:
Hover over the new child theme preview image and activate it. You now have a child theme that is based on BluePrint-Q and you can also take updates without fear of losing your coding work.
WordPress has an article on child themes where you can learn a bit more on the subject, if interested.
Install and activate plugins
After you have activated the new child theme, you will be taken to a welcome screen for BluePrint-Q. From here, you might want to install some suggested plugins. To get there, click on any of these three links:
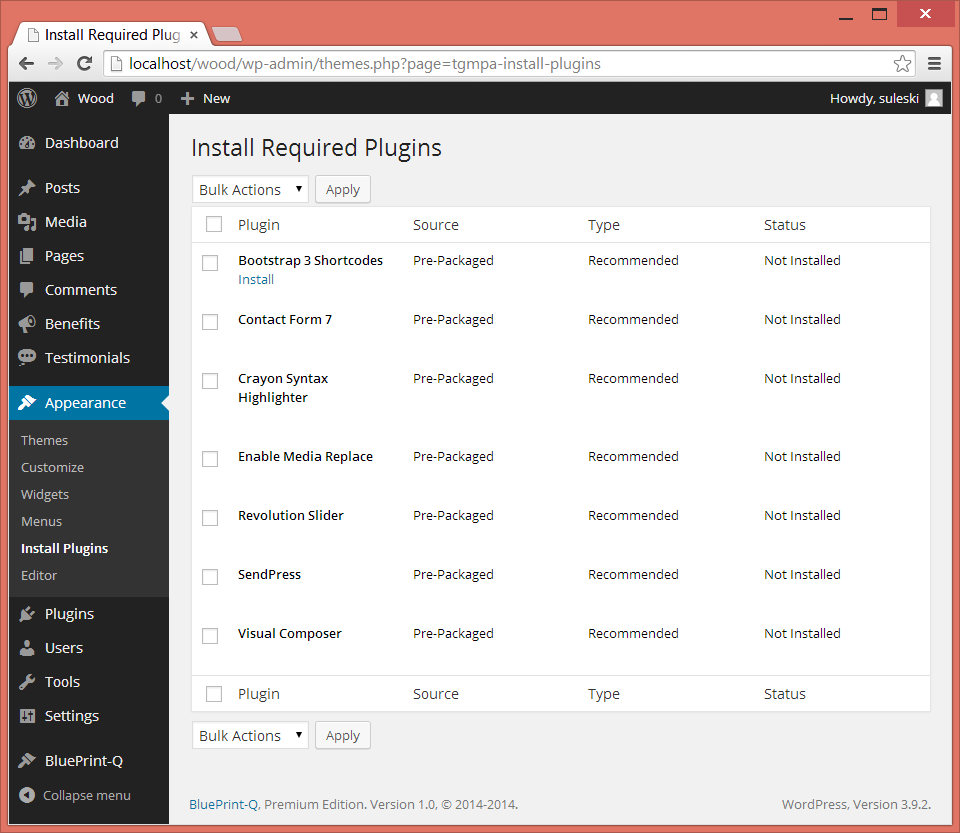
You should now see a list of plugins that BluePrint-Q recommends. For each one that you want, hover over it and click ‘Install’. Here is what each does:
- Bootstrap 3 Shortcodes: These are shortcuts that you can use in the text editor that expand to display a number of Bootstrap components.
- Contact Form 7: Very useful plugin for setting up forms where visitors can email you directly from your website and without concern for spam.
- Crayon Syntax Highlighter: If you are writing a tech blog, you might want this plugin to help format and color your example code.
- Enable Media Replace: WordPress has a limitation where there is no default interface that re-uploads image files. This plugin adds a ‘replace media’ link to the Media page to do just that.
- Revolution Slider: Make prominent displays that can cycle with optional animations. This is a premium plugin and comes for free with the BluePrint-Q Premium Edition download.
- SendPress: If you would like to collect email addresses and send out newsletters, go for it.
- Visual Composer: Extends WordPress’ default tools with a very nice drag/drop interface. This is a premium plugin and comes for free with the BluePrint-Q Premium Edition download.
There are a ton more plugins available. Some are free, some are premium. Some are unfinished, others are awesome. There is usually no harm in trying out a plugin – but if you do notice that something went bad on your site, the popular suggestion is to deactivate all of your plugins to see if one of those plugins is colliding with something else. Of course, it is always prudent to backup your work regularly.
Congrats, you are well on your way to creating a wonderful web experience.

